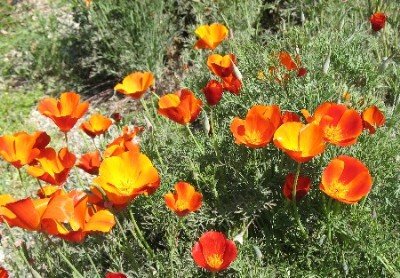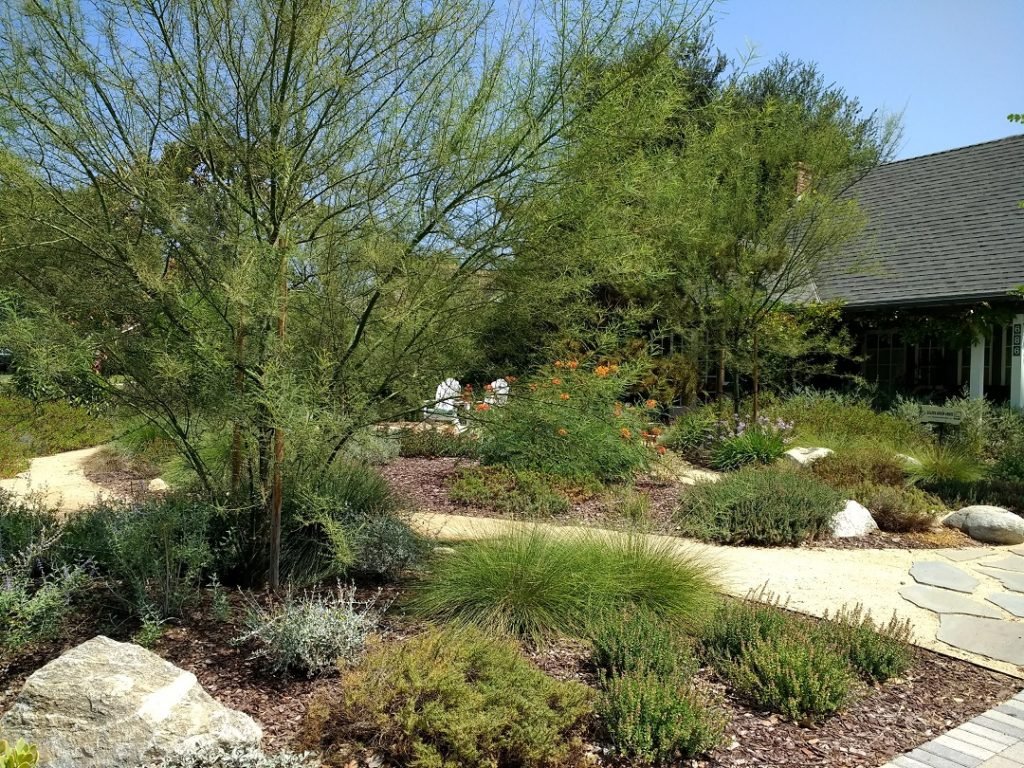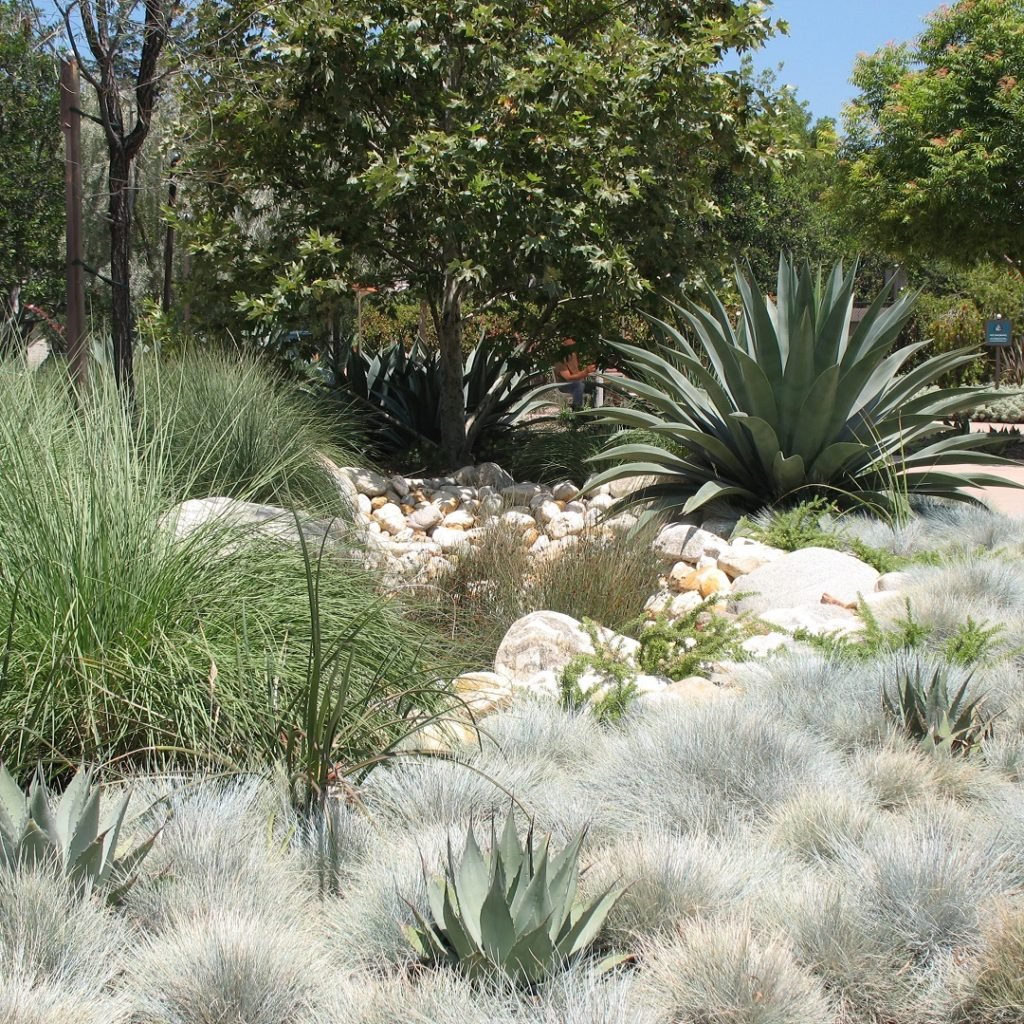

November means fewer hot days in the Northern Hemisphere but in the Southern one, it’s Spring and plants are beginning to rise up toward the sun and bloom. Happily, many, particularly from South Africa, are suitable for our hot dry gardens.

One of the most fragrant South African flowers I know and love is the Freesia, a member of the Iris family. It blooms in Springtime and then the leaves die back to the ground. While often Freesia plants are grown in pots where they may flower year after year, in most of the desert Southwest the Freesia bulbs (also called corms) are planted in the ground. If you are brave try simply leaving them in the ground. Some people prefer to dig the bulbs up and replant. Properly cared for they will bloom again for 7 to 9 years. The hybrids come in many colors, but the white and yellow blooms seem to be the most fragrant. And–maybe best of all– they are very easy to grow: just stick the bulbs in a hole 2 inches deep, cover it and then water lightly. Come Spring warmth they bloom.
Another choice is the freesia-like Tritonia, originally found in Mozambique but now common in the Cape region of South Africa. It looks similar and is very tough. Many are very fragrant, especially after dark, but two, Tritonia Pink and Tritonia Cream are fragrance free.
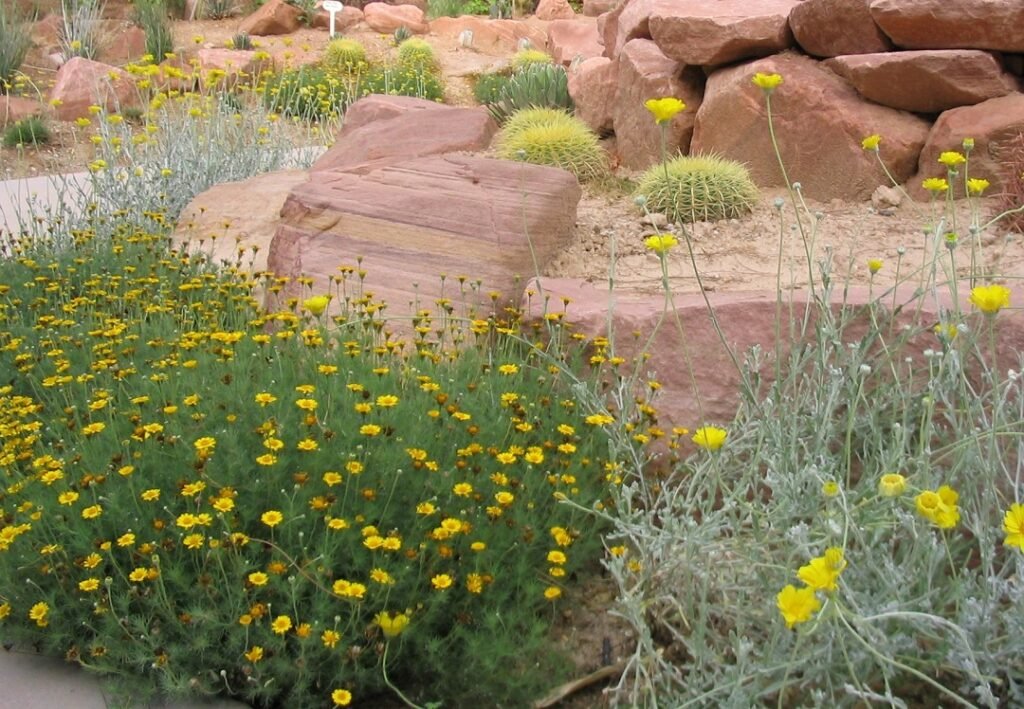
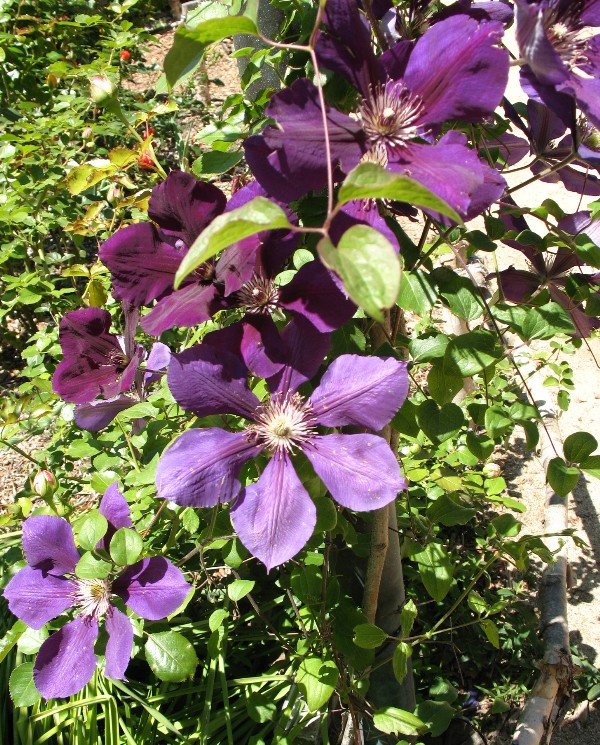
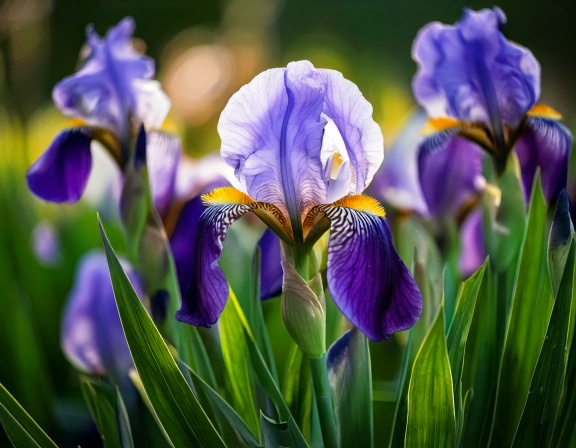
Iris in a desert garden is unexpected
For a more showy plant in a garden border, choose Iris, a native of Egypt in northern Africa. Its flashy blue and purple and yellow flowers are surprising in any garden and moreso in a desert environment. In hot, dry climates they grow beautifully from rhizomes, a flat, lumpy and thick root-like structure. (Not a round bulb like the Freesia has.)
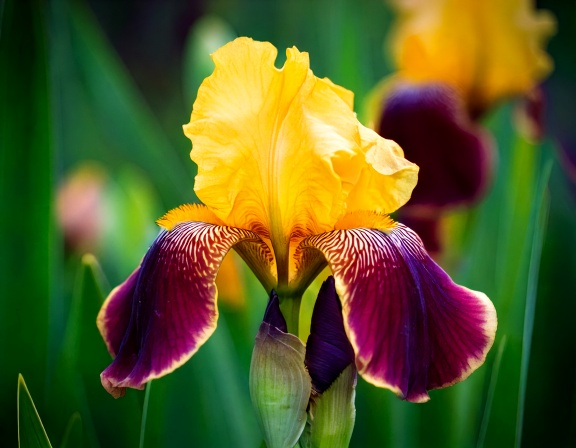
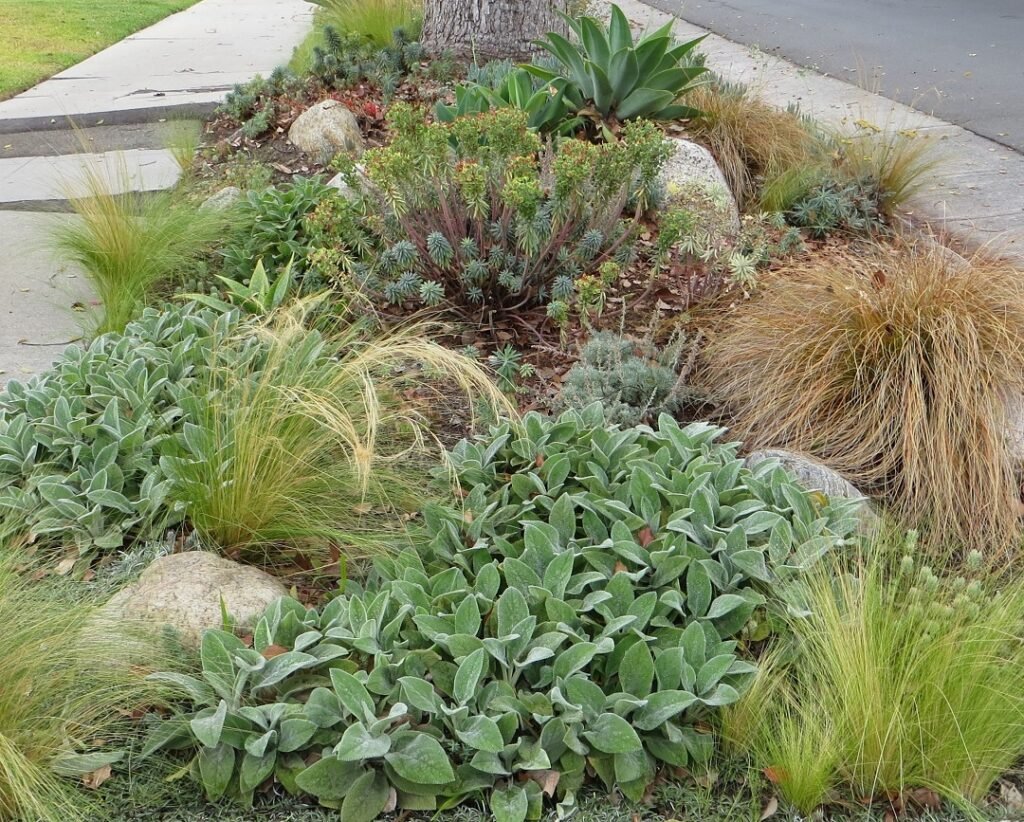
I recently planned to add Iris to my garden because, not only are the flowers a visual delight, Iris leaves remain upright after blooming and add structure to a garden border. But when I saw the price for one rhizome cutting I was surprised. Ok, they were rhizome cuttings from rare/unusual Iris, but–wow, they were much more than I anticipated. So I would advise you, if you already have Iris, split your own rhizomes, and replant so you have twice as many in late Spring. You might want to offer to swap rhizome cuttings with a gardening friend or neighbor to get different colors.
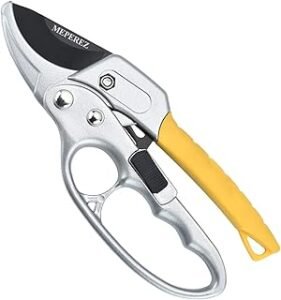
How to split Iris rhizomes
After you dig up the Iris rhizome, cut the leaves back to about 5 or 6 inches then divide the rhizome by pulling it apart at the joints. If it doesn’t break easily cut it into large pieces using a sharp, knife sterilized by dipping it in bleach and water.
Okay, now here is where planting Iris is different from most plantings. Do not use compost. Do not heap mulch around the plant. Do not plant it deep. Iris like it plain and simple. Just dig a shallow hole about ten inches wide by three or four inches deep and place the rhizome with a few leaves still attached on a low mound of desert soil in the hole. Then fill the hole with the TOP of the Iris rhizome still visible. Pro Tip: If the rhizome is soft and squishy, throw it out.
South Africa is the home of gladiolus
Yes. Those big, showy “glads” in American gardens come from the original ancestor in South Africa. And here are even more plants from there suitable for desert Southwest gardens.
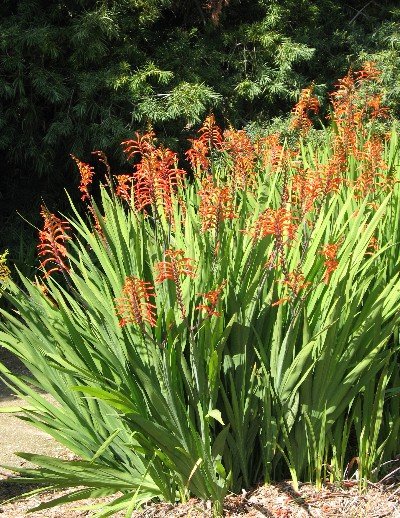
Gladiolus These Gladiolus (Gladiolus dalenii) are a delicate version of the large, sturdy upright “glads” of summer. Our European-style upright ones are hybrids based on these South African natives. These bloom in Spring.
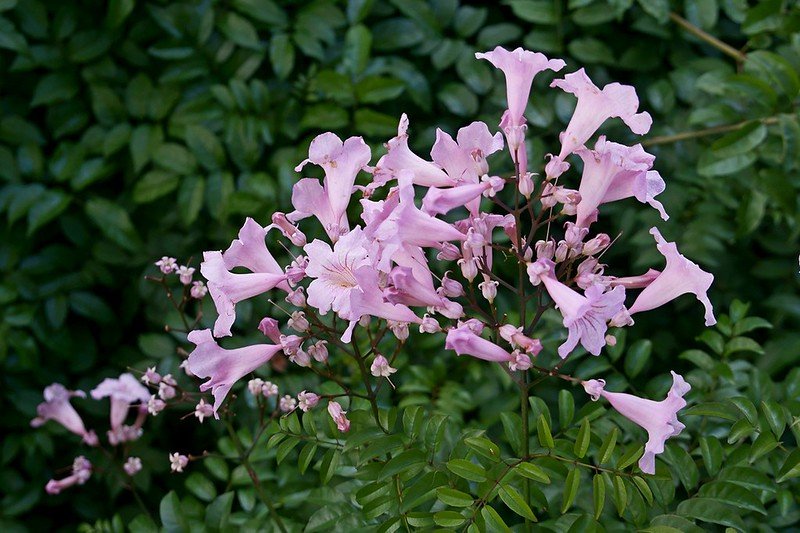
You may be much better off planting bulbs native to South Africa, such as the or the Watsonia borbonica, also called the Pink Watsonia or the Bugle Lily. It, too, resembles miniature gladiolus.
I wish I could tell you to plant Agapanthus, yet another South African native, but, sadly, they do not survive in desert heat.
In the next newsletter look for information about the plants from another Southern Hemisphere locale, Australia. Some of their natives thrive in our hot dry gardens.

Read our 8 most popular newsletters
- Hot Days, White Nights, How Design a Moon Garden
- Australian Plants for a Desert Garden
- Cover up that naked wall
- Best and beautiful native shrubs for extreme heat
- Five fragrant plants for your garden
- Where to get free or cheap trees for your garden
- Four desert trees good for soil, 4 toxic ones
- Plants that bloom even in mid-summer scorching heat